Saturday, December 27, 2014

1957 Caravanner 1 of...


Frequent readers will most likely recall this 1957 Caravanner. She was in a few years ago for some repairs to make her usable for right then. A truly temporary bandaid. Now she is in for a shell off restoration.


As always, it begins with making templates. I made a template of the entire trailer. No guessing this way.


Next the drilling of rivets began. All the way around. Lots of holes...


Then under the gantry. 


There is always one blind rivet that hangs up the upward motion.


The chassis was brought into the shop next. I love that 1/4" maple plywood. It was nailed down to hide the rotten floor. 


The chassis was next jacked up to belly button level. This makes working under and on it more ergonomic(not really. It is just an excellent height to roll under and work on top of. Ergonomic sounded so sophisticated when the words were forming in my head that I decided to use it).


We just started breaking off bolts at the rear and worked our way forward.


The wheel wells got rather complicated. You may have heard of blind rivets holding the shell or belly pan in place. Well, there were blind screws. There were screws that one just could not see.


Something else that could not be seen was major structural cracks in the frame. This is right where the front shell meets the A frame. A little too much tongue weight or too much tension on a weight distribution system and this frame would have gone "snap"


The rear cross member and two others were replaced. 


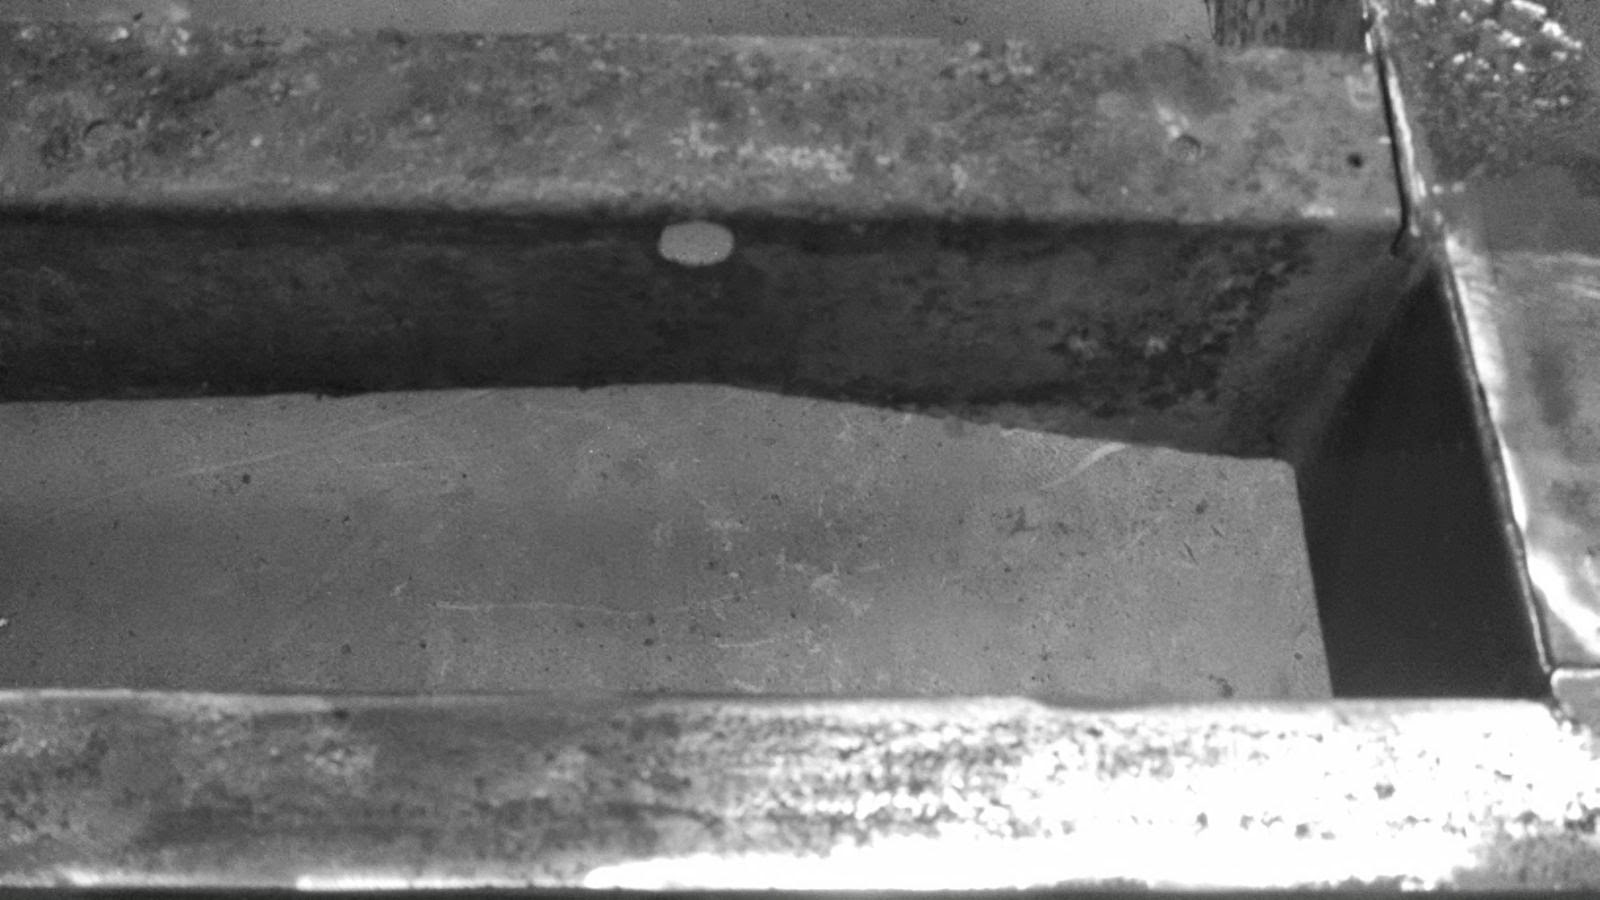
A lot of holes were repaired.


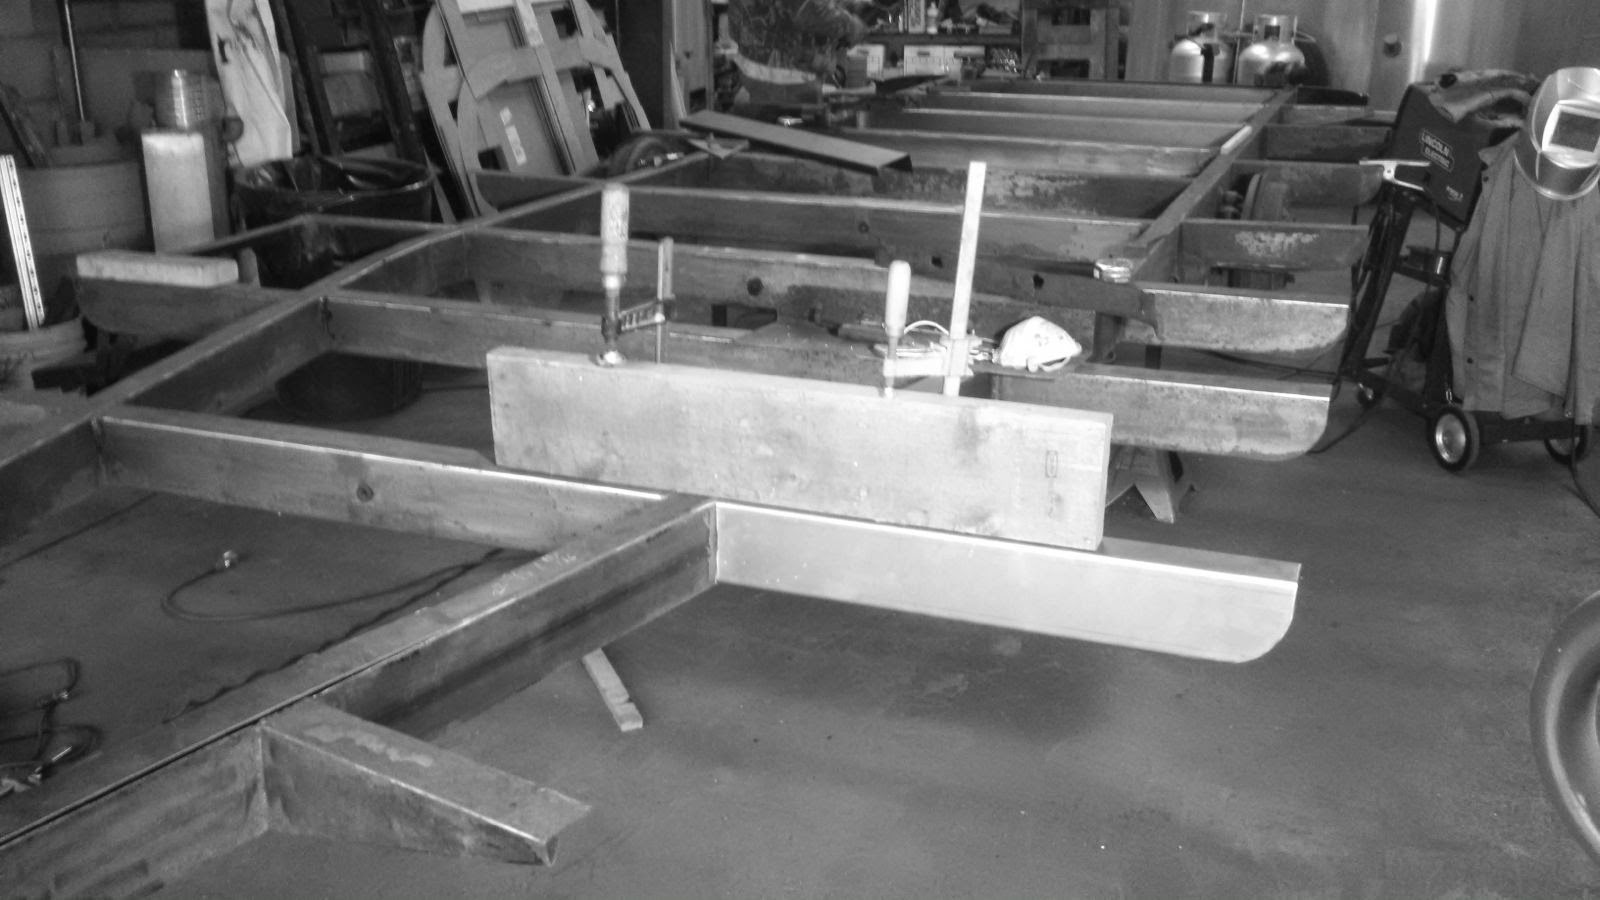
Two out riggers were replaced. The longest and the shortest. What's up with that?


The steps were all messed up. I sort of made them semi usable when I worked on this trailer last time. Now the step works very well.


Paint/ rust preventative coating ready. 

Stay tuned. (Check back too)

Thursday, December 11, 2014

Grate A Tude


In my on going series, I have to give a super shout out to Fleet Part. Though not my number one vendor, I do use Fleet Parts a great deal for running lights, missing lenses, and lubricants.


Fleet Parts is kind of like an auto parts store but for trailers. I am not talking camper trailers, I mean tractor trailer, flat bed, refer truck type parts store. 


I love to be able to buy a box. Now a days everything comes in a plastic bag. I dig buying bulbs by the box.


They sell a lot of things I would never need.


They sell things I do use.


They sell things I wish I had use for.


They offer good old fashion service and advice. Often when they do not have what I need they can send me right to where it can be found.


Wednesday, December 3, 2014

In Pressed...

This post will be the beginning of a series. I feel that because some of my vendors treat me so well, I need to show how very grateful I am for the services they provide to me. I will provide links to every single one of them so you too can utilize them for your projects…

Yesterday I got a call from Dennis at Metro Plating saying that my second batch of items were ready for pick up. You might remember Metro Plating from two post ago.


Of course I went and fetched them right away. I am utterly astounded with how good the items look. They are almost perfect for being 60+ years old. The guys who work at Metro Plating do some incredible work to say the very least. 
Before you say that you wish they were closer to you, know you can Fedex, UPS, or USPS your items to Metro Plating from any where in the world. I recommend you do.


Saturday, November 29, 2014

Dale's Little Cutie


My good friend Dale brought has trailer down to me for a some minor repairs and a re-polish. Four or five years ago we both had our trailers polished by a guy claiming to be a professional. We were both very happy with the price but neither of us were very happy with the results. With the polishing system I have now, he wanted his trailer done correctly.


Dale also had a small list of things he has been putting off and he wanted them taken care of.


After the polishing, his number one item was to replace all the window seals. These windows are very sleek and modern. They are also notorious leakers. I have covered the importance of the window seals on these 1966-68 windows before, but I will emphases to you that if you do not maintain these seals, your window is guaranteed to leak. The first step was to remove all the old seals completely including all the adhesive. Dale's seals were still the original ones. They were as hard as rocks and honestly were not sealing anything. We cleaned the frames multiple times using MEK for the final step, making sure nothing was on the surface except aluminum.


Brand new seals were installed.  These can be obtained from my favorite vendor, Vintage Trailer Supply. The match to the original is 100% correct. 


When installed correctly, the seal makes a water tight barrier to the elements. The top 1/2" is the key to keeping the water out. The gasket must be all the way up and tight against the hinge. What I see most often is instead of replacing the seal, caulk of some sort is squirted in the top corner and it makes the leak even worse. Glass against gasket is key.


It was not on his list but I replaced the steel, door keep with a new stainless one offered also by VTS. This is another perfect reproduction. Unlike the steel version however, it will not rust. 


Still on Dale's list is a toilet replacement and having all the seams sealed. I will not bore you with that stuff.
I do love working on these Caravels. These Caravels seem to like coming to FTW to be worked on. If you have a Caravel, it is more than welcome at FTW...


Sunday, November 9, 2014

Triple Chrome


    I am a very curious guy. I  am always very curious about how the other craftsman I use on my projects do their work. Every now and then I get to go and see their process. This is something I actually relish. I write this blog in hopes that others might learn as I am. It is often good to see how things are done. It helps learn how much really is involved.


Dennis at Metro Plating was kind enough to allow me in to see the entire process on a batch of items I needed redone. I should first point out that electro plating is a business that is quickly disappearing in our country. At a time, everything metal was plated in nickel, copper, or chrome. The development of stainless steal and plastics has reduced the need for a large portion of plating work. The EPA has also been pivotal in making it so difficult for the plating companies to comply with their regulation, that today very few shops exist. Those that do are only open because the volume of chemicals used and improved material handling keep them compliant. The demand for plating on the other hand is growing since no one is around to do it any longer. Metro Plating is just about the only place left that does it in Maryland. They do plating of copper, brass, silver, gold, platinum, nickel, and chrome. I was in for a process called triple chrome. I will describe the entire process in this post.


Dennis turned me over to Tony. Tony is a frickin genius to put it in as few a words as I can. I learned more from Tony in three hours than I have in the last half of my life. Tony has a hands on knowledge of atomic theory, metallurgy, physics, and alchemy like no one I have ever met. This knowledge is not the kind you get from school or books, this knowledge comes from years of doing it. This knowledge comes from taking great pride in your work and striving to make each job better than the last. I was honored to spend the afternoon with him. I did not realize it but Dennis was so gracious to my request to see the process that he gave me one on one time with Tony and just my items.


The first step of the process is in the polish room. The items are put through various polishes and abrasives to remove all the oxides and corrosion.


This part of the process is done by a crew who get everything ready for Tony. Since it was Saturday they were not there. I think you can fill in the blanks...


Shelves of items are prepped then wait for Tony and his magic. On the shelf was everything under sun. I saw grandma's flatware and Bobbies air filter cover for his GTO. There was service ware next to Harley forks. Coffee urns were next to necklaces.


Here are some of my items all prepped up. In all honesty they were so shiny I thought they were done already. Each item is wired in copper to a copper hook. 

I should point out that I have been taking all my photos in black and white for awhile now. When I walked into Tony's world however, I had to switch back to full color. I wish they still made Kodachrome.


The item has been wired to a copper hook so electricity can pass from the hook down the wire to the item. Remember, this is called electro plating. So here is what happens first...


The item is cleaned very well in a four step bath. A dip into a tank of detergent is first. It is scrubbed with a brush to remove all traces of oil, rogue, and things that will resist the plating.


Next it goes into another bath that removes the things a brush did not take off. From here it goes into two clear water baths. The item is now totally free of anything but the base metal. Each step takes about 30 seconds.


In this tank it gets it's first coating. Tony called this the primer coat. This is done with copper that is dissolve in a cyanide creating a solution. The copper is inside of that bag you see in the back. The cyanide dissolves the copper and creates a solution.  When electricity is passed through the bar you see the item hanging from, the atoms of copper are bonded to the base metal. As metal is dissolved, more metal dissolves into the solution. This is where hands on learning pays off. Each base metal requires just a little more or little less electricity to make it build to the proper thickness. On the pot metal it took about 6 minutes to build the base of copper. On the steel items it took much less time.


And there you have your base coat in the electro plating process. Hanging off the bottom are the two hinge bolts. The yellow electrical tape keeps the copper cyanide from making contact with the base metal so the layers will not effect it's diameter. The item is then washed again as described earlier to neutralize all of the chemicals used. All electro plating is begun this way.


The next step is to copper plate the item. Tony explained that this step is the most important. If the copper it too thin, it will not be durable outside. If it is too thick, the rest of the metals will not bond properly and it will begin to flake off over time. My items took about 45 minutes in this step. 


This step of plating is done in a solution of copper dissolved into solution by an acid.


After yet another cleaning it goes into the tank that has nickel in solution. Same process of metal dissolved into an acid. You can see the bar the item hangs from in the center of the tank. The power actually goes into the tank through the bars at the side of the tank and out of the bar the item hangs on. As the electricity passes through the solution, it carries the metal atoms with it and they bond onto the item. Hands on knowledge is how Tony knows exactly how long he has to build the surface, nickel atom by nickel atom. All the items required about 20 minutes.


The item is then, yes, again, washed. Then it goes into the chrome tank. 2 minutes and it was done.


And then you end up with this. Triple chrome is not three platings of chrome as many (myself included until Tony learned me) think. It is actually chrome on top of nickel, onto of copper. 

I really want to thank Dennis for allowing me into his business like he did. Most people would just say no. Not only did he allow me in but he made it a tremendous one on one experience for me.
I also want to thank Tony for teaching me so much and actually allowing me to participate in the plating. You are a genius my friend. 

Metro Plating is the type of small business I support and want to promote. I hope if you have the need to get anything plated you will not hesitate and send it to them. They do work for people all over the country and UPS stops there everyday. 


Friday, October 17, 2014

Coco's Fidy Tree continued...


What can I say, Coco's trailer is getting some major cosmetic surgery. 


The entire lower portion of the exterior skin is being replaced. 


There were some major rashes, a few worry lines, and number of wrinkles we wanted gone.


90 running feet of new Alclad was ordered up from one of my favorite vendors; Airparts Inc. I cannot say enough good things about the gang over there. They give me excellent service and regular shipping gets it here in two days.


They cut me out a few custom lengths. I always order my Alclad with a PVC film applied to protect it from scratches during fabrication. Always spend the extra few dollars on this film. Here is one panel an inch short of 20 feet long. I roll it out face down. 


The original panel is laid face down on top of the new sheet. I begin at a corner and drill through the rivet holes followed by a clecko to hold it in place. All lines are traced out then cut out using a variety of tooling. Mostly I just use hand sheers.


Then presto, the new panel fits like it was made for it. 


Above is my clecko box. This is one of the coolest tools at FTW. What it does is so highly specialized, but it does it so perfectly. Basically, they act as a temporary or spring loaded rivet. I love my cleckos for another reason also. FTW is their second lease on life. They originally were used at Boeing to build jets. Once they go through just a few builds, Boeing considers them surplus. I know the surplus buyer and I buy them from him. I find this rather apropos since originally Airstream bought the aluminum Boeing did not want and used it to to build trailers. 


Drill, clecko, drill clecko, thousands later it is ready for actual rivets.


All the way around the trailer this was done. Drill all the rivets out. Remove the panel. Copy it. Re install the panel. Rivet into place.


There is that film being pulled back.


We also did two upper panels. There were three separate attempts at some sort of stove vent system. There were also some sort of furnace and stove vent penetrations. This took a serious toll on the panels and replacing them was easier than patching them.


Here are those steps again. Drill out all the old rivets.


Remove the original panel. Copy it.


Install the new panel with cleckos. I mighty add that first, it  all is drilled using an 1/8" bit and copper color cleckos are installed. I then remove every other one and drill with a #21 bit for the buck rivet. A black color clecko is used in that hole till it is replaced with a bucked rivet.


And that is how you rebuild an Airstream…

Next post will be about the Herh Standard window used in this trailer. It has a lot of them. Each one requires a lot of attention to rebuild. I will cover all that in a further post.