Saturday, September 28, 2013

1968 Caravel, Up Next


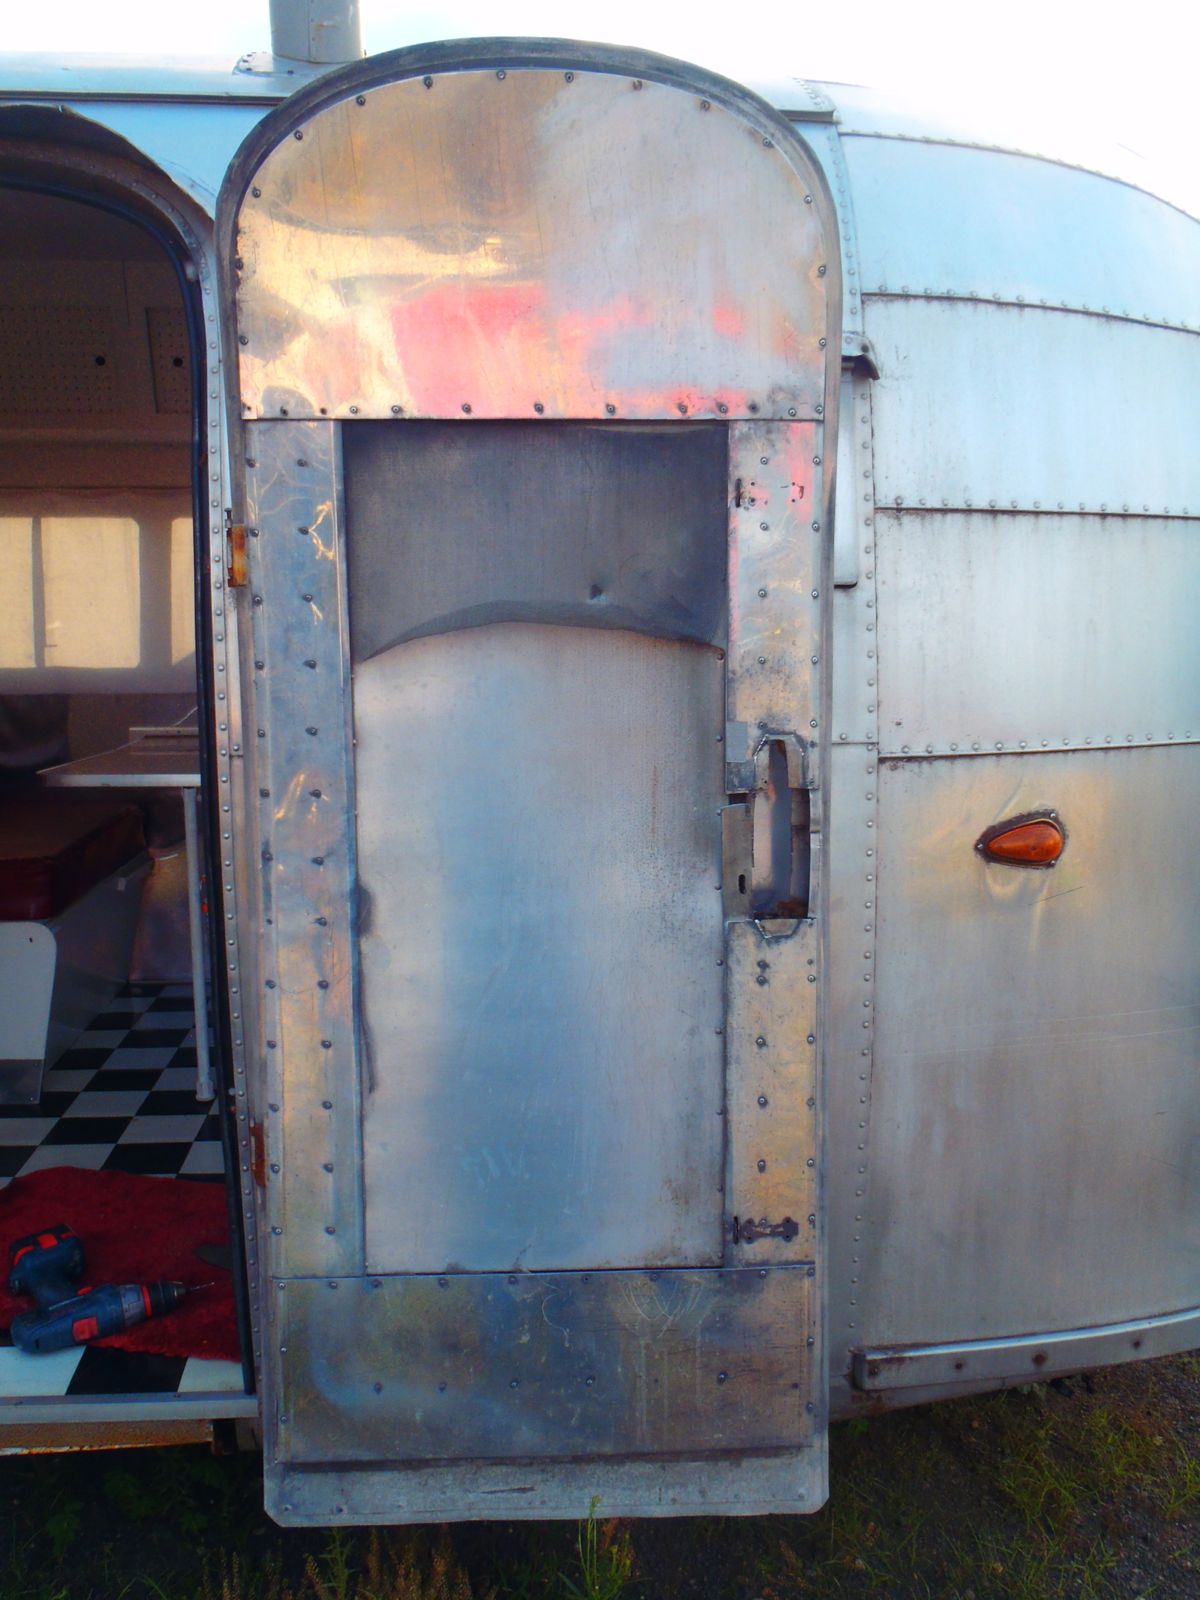
The next project up is a 1968 Caravel built at the Jackson Center, Ohio, factory. 


Her  owner has had her and used her for a number of years. She has begun to show some signs of her age.


She looks real good on the exterior. 


Most of her seams have been sealed over and over. Silicon was very popular in these sealing jobs. Most of the applications were wide reaching and will require a great deal of clean up to be sealed properly with the correct material.


There are a few trouble spots.


Most of these trouble spots have leaked very badly over the years causing a great deal of rot.


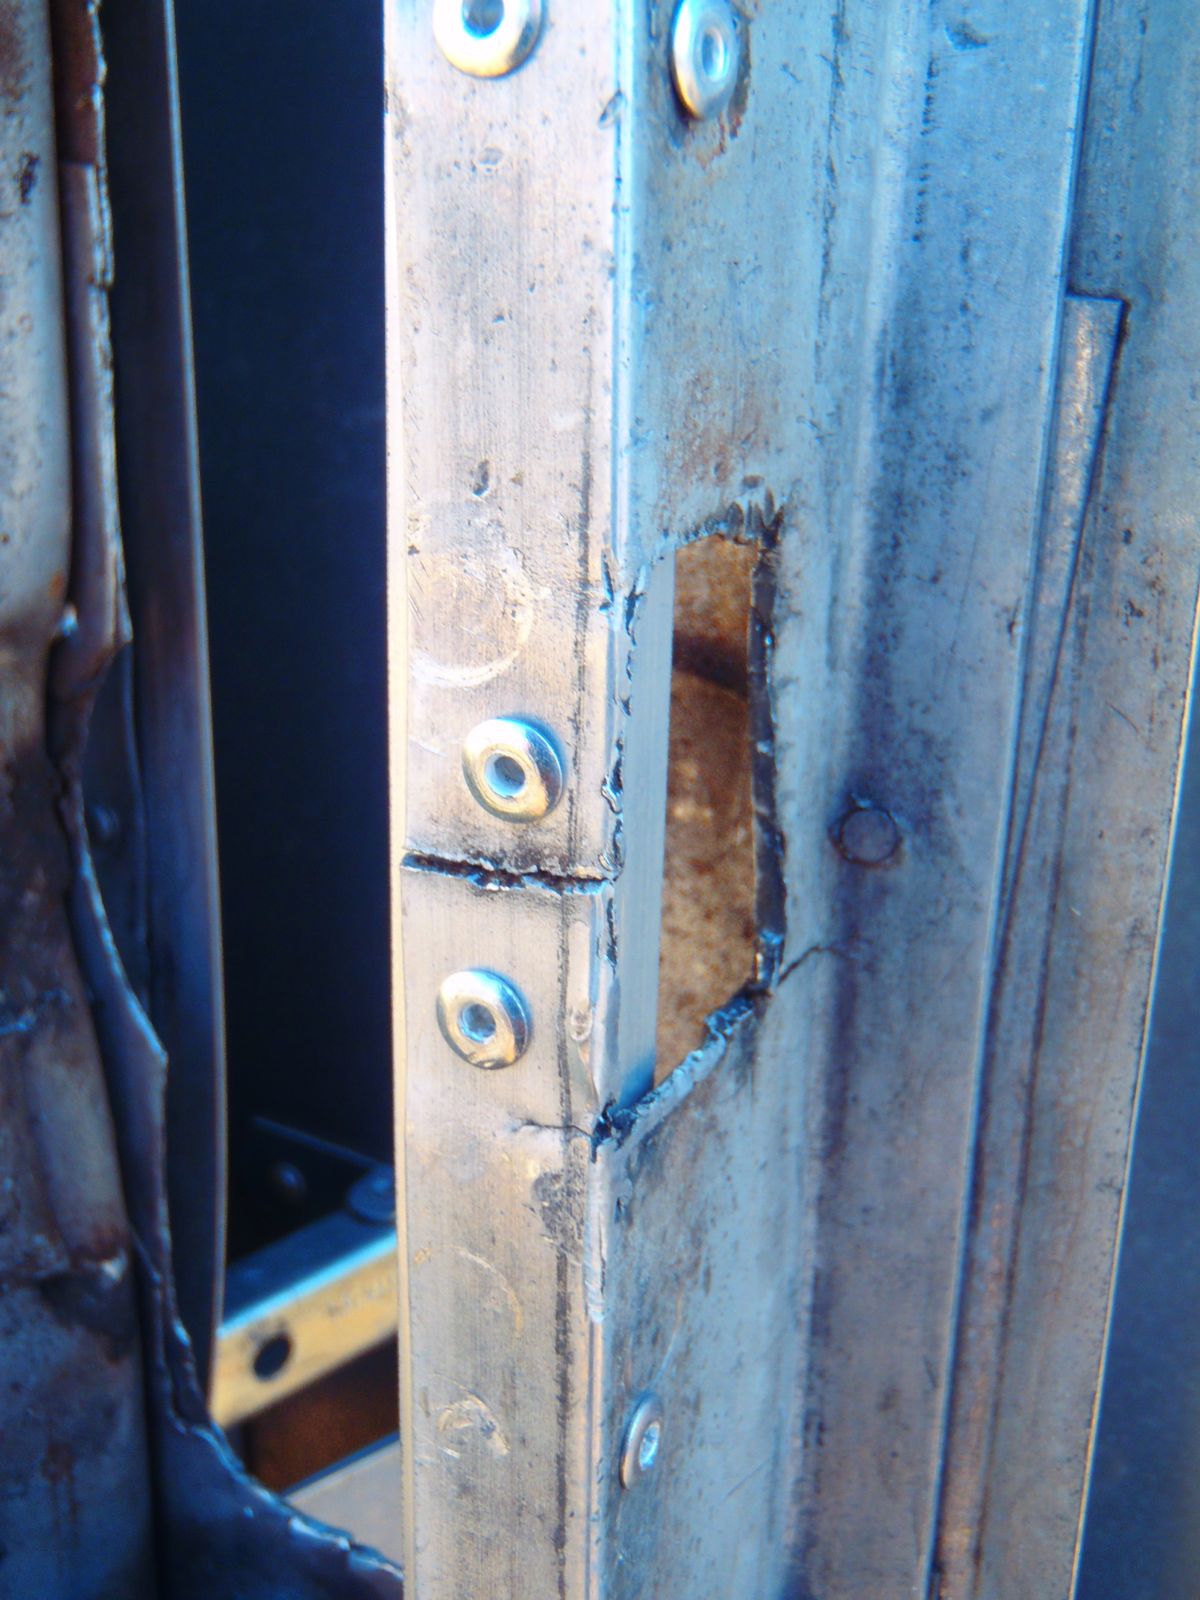
The rot has allowed some things to move that should not have.


This is the only real exterior flaw. I don't think the segment is going to be replaced for this one.

Wednesday, September 25, 2013

Not Even a Kiss Goodbye


The 1964 Overlander named Fred had been front and center for a number of months now. I thought I might give you folks a little update on his status...


Unlike previous projects, the entire bathroom module was reused. This meant repairing a great deal of broken plastic parts. Many repair broken plastic by using a plastic welder. I do it a little differently. I have had great success with using ABS plastic cement and fiberglass roving. The process fuses the pieces back together and adds a great deal of strength to the broken area.


This entire corner was broken completely off and through a little patience and a bit of skill I was able to fuse it back together. In the photo above you see it after the two part epoxy primer has been sprayed on.  You cannot see the damage at all.


On top of the primer a highly metallic paint was applied followed by a special clear coat. This entire system is very high tech stuff and requires very careful measuring of materials and spraying within a timed perimeters. In addition to the bathroom module, all the wall track, lighting fixtures, and some key elements were also sprayed.


The results are a very convincing aluminum look. All the items came out perfectly even though it took more than one try on some of the parts. My standards are very high and one speck of dust has me doing it over (do overs are always on my time).


While I worked on the bathroom parts Michael was very busy running all the wiring and insulating. Two layers of Reflectix with an airspace between the two is now a standard in my shop. The Reflectix works extremely well in a trailer application since it is non absorbent and there is nothing for the mice to like. No pink fiberglass is used in my shop.


The end caps were repaired of any errant screw holes while still on the shop floor. On the end caps the second layer of insulation was then glued to the back side and they were installed back into the trailer. It all went back right where it came out of. Once in place they were sanded and made ready for the Zolatone. 


Michael was skeptical, but all the aluminum went right back into its original position. All the holes lined up just as they should.


A great deal of work went into the repair and or replacement of the original furniture. Here you see a door where much of the original veneer was in very bad shape. Missing pieces had to be carefully toothed in with new oak veneer. Good luck finding where those repairs were done. There are a lot of them but I bet you a lunch, you cannot find them. 


Some of the cabinets had to be rebuilt.


While I was working on the furniture, Michael was busy learning how to spray Zolatone. Zolatone primer was shot first then top coated with the paint. 


The Zolatone Michael selected was the water based variety. Unlike the industrial line it did not have nearly the VOCs. I tried to get a good shot of the finished color but unfortunately, a camera is unable to do it any justice. Michael is a quick learner and did a fantastic job.


You can barely see it but 12 x 12 cork flooring was glued down throughout. I find cork an excellent choice for Airstream interiors. All of Wally Byam's trailers had cork flooring in them even though all of the production trailers used what people refer to as 9 x 9 asbestos tiles. This is kind of improper term since asbestos was not really the main ingredient and some years the tile had none in it at all. You can also see the new stain color of the furniture in this shot. We went from dark brown to Mission cherry. It is redder than in real life the photo above. In the photo below it a little browner. Capturing the exact nuance of colors is difficult.


Here is some more of the furniture going back in...


New counter tops were fabricated by my friend's cabinet shop, Hayford Builders. They do all my laminate work for me. The laminate has a nice retro feel.


Like most projects, the push at the end had me so wrapped up that I never got to take any finished shots of the interior. It is always a frantic race to the finish line and suddenly, without really seeing it coming, it rolls away. Godspeed Fred. 

I assure you a complete set of photos will be posted as soon as I can get them. The entire project came out beautifully making this 1964 Overlander new again. I am extremely proud of the finished product. She will look really good polished someday. 

Please tune in soon. I have already launched into my next project and I think all of you will enjoy following that one from start to finish. Just a teaser; She is 17 feet long. She was built during the Vietnam War. She is going to be a shell off restoration back to original condition.

Saturday, August 3, 2013

Hard to Find (Until NOW)

With just about every project that comes through FTW, we have to restore some very hard to find items for the project. Sometime a repair is just not possible. When this happens, we have to find a replacement. Many things are made of unobtainium. When this occurs, we have to reproduce the part.


Above you are looking at an original beauty ring that dresses off the space between the toilet bowl and bathroom module. These rings were used on many models in the mid 1960's. The ring on the right is an original that we attempted to repair. It is made of very thin injection molded plastic. I knew very early on this was not going to cut it. On the right you see a perfect copy of the original.


The ring may look round, but it actually an ellipse. These rings are about 4x thicker than the original but exact in every crucial dimension. They are milled from solid high density polystyrene. The fit is an exact match.


I am offering these rings for $95 unfinished, $120 primed with a two part epoxy primer, $140 in gloss white urethane paint. Custom colors are possible at an additional charge. Shipping to the lower 48 is included in the price. Alaska, Hawaii, and International is possible too with a slight additional charge.


Another exciting offering is the door eyebrows. Here is a 1955 Safari "before".


... and "after".


If you send me your original I can match it exactly. 


They drastically vary year to year, factory to factory. To assure an exact copy, I use your original as a guide. If yours is missing, I can get it fairly close. These eyebrows are made of .040 Alclad aluminum. They are made 100% by hand.


The first hole on the right and left are matched and then all the rest of the original holes are avoided to assure solid material to rivet into. Install time is only about 30 minutes. The cost for this item is $165 with shipping to the lower 48.
Here is an email from a customer who just bought one:

Hi Frank,

Just wanted to shout out to you about the Eye-brow you made for me...EXCELLENT ! Fit like a factory made part. This one improvement boosted my trailers eye appeal 100%. Appreciate your Old Word craftsmanship in a modern era of imported crap. Frank may God Bless you and your Work!

You are very welcome. I want to thank you!


The third item is going to be extremely popular I suspect. Baggage door hatches. This type door was used starting in 1963. It is held in place by the upper lip and the lock. This type door was used on many models and up into the 1970's for refrigerator access hatches. They often disappear to the highway when one forgets to lock them.


Any size is possible though there are 5 standard sizes. The door is made of .040 Alclad aluminum. This same door can be used in a hinged situation on 1963 and before trailers. These hatches will polish up just like your trailer skin. 


The hatch comes fully insulated, weather stripped, and with a lock installed. The cost for the three smallest doors is $275. The largest two sizes have a handle installed in addition. They are $340 with shipping to the lower 48. I know that price sound high, but an incredible amount of hand work goes into their fabrication. Alclad aluminum is not cheap either. 
These doors are made on a semi production basis so I will have to take orders for 5 doors before the fabricator will do a run for me. Once they are fabricated, I do all the insulating, and finishing work.

Please note these doors are NOT the type used in 1968 that lock with two bars activated by a t handle lock. You may have to cut a slot into the frame opening or install a keep to accept the cam on the lock. 

The best part; 100% MADE IN THE USA


Tuesday, July 30, 2013

A Door, a Door, Adore Ya...


A 1955 Safari came in for a bit of work. Most people like a door that locks. This Safari has not been able to lock in a while. The door with in a door also cannot be used as a screen door since the screen was taken out by a dog, happy to see it's owners.


To replace the screen all the interior panels on the door had to be removed. The screen is riveted in between the door frame and the inside door skins.


I was hoping this door had a signature inside the door. For those not aware, Johnny Alonzo was the California factory door man of the mid 1950's into the early 1960's. He had a rather flamboyant way of signing the inside of each door he built. No luck here. 


A big issue the door had was the original door latch had been changed. A house style door knob would have originally been used. At some point it was changed to a Bargman L77 lock set. The alteration was done without much concern for the door frame. Two complete breaks had to be fixed.


The aluminum also had to be forced back into place since it was torqued all out of place.


An aluminum bar was fitted into the backside and riveted into place. I would had liked to weld this but the alloy felt so soft, I felt it would just turn to puddle.


The other side needed a mending plate added. 


You see one side so I bucked these rivets into place.


Next a new skin was made for the backside of the lock set.


New screen was stretched over the frame and the inner skins replaced.


Like semi new again.


Stronger than new. This is not original but a very good solution under the circumstances.


A beauty ring was fabricated for the outside of the door. The hole someone cut was too wide and I need to fill some gaps. The door now locks. Typical of old Airstream locks, it is a tricky one to lock, requiring some pushing and key wiggling. It locks now however.


The eyebrow was a bit beat down too.


I made a new one.