I apologize, but the first 2/3 of this post is old information. The work was completed a good time ago and I have been remise in posting. I was pre occupied with hosting the First Annual Birthday Bash. The event took me away from the shop for 9 days and even after I returned I spent 4 days trying to catch up to my personal life that I seemed to drop when I went off towing North. Lots took place before I left though, so I will try and bring you up to speed.

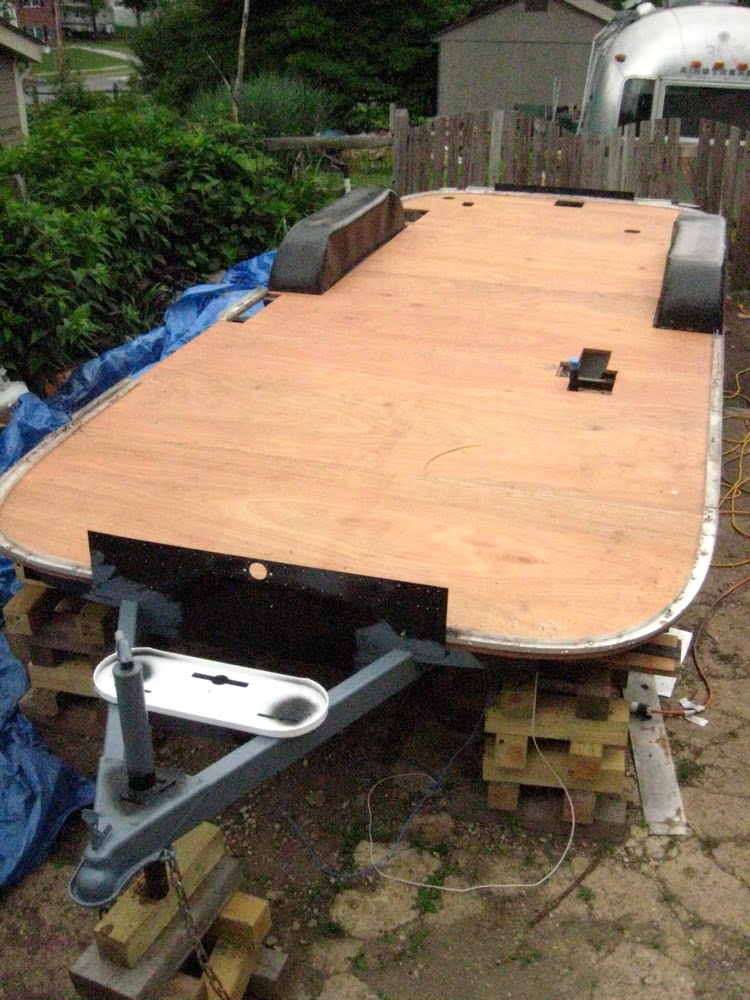
There was a great deal of corrosion issues due to dissimilar metals, water, and a slight electric current. Some areas were real bad. In order to not repeat this problem, I decided that every where steel touched aluminum, I would place a barrier between the two metals. The bolts and screws were easy, for I could just use a washer that had a neoprene liner. They work very well in this application. The tricky areas were where steel plates connect the channel, floor, and frame together. For this I used a product out of it's intended application. I used some rubber roofing membrane. The rectangles at the top of the photos were made for under the hold down plates.

The steel ones are furthest away from you in this photo. I used some Por 15 on them, and then the membrane under those. It is now not possible for the steel to touch the aluminum. Across the rear you see some aluminum plates I made because the original elevator bolts had corroded the aluminum so badly.

To create a barrier between the steel angle in the back and the aluminum hatch cover I used more membrane. A bunch of vulkem was also used to impede any water from flowing under the floor as it has since 1973. The membrane really flattens out thin and fills all the gaps when bolted down. I believe this might be an excellent misuse of a product. Time will tell.
So with that, all the channel is in and ready to accept the shell again.

While dangling in mid air it seemed a good time to put on the new set of Henchen Axles. They just bolt right in. 40 minutes it took me to have both axles bolted in and shocks mounted. I am amazed at the ease of installation a few extra dollars gets you. I just gave Inland RV the serial number and they sent out a perfect fitting axle.

She sits rather pretty back on the ground. And at this point, she is ready to have the shell put back on. I took it off all alone. I will get some help to put it back on.

Someone asked what I do with the old axles. I would love to say I save them all, but that is not true. I scrap them is what I do. Someday these axles might be new axles or something someone could use.

This was my first time at this scrap yard. This was actually my first time taking in scrap steel. It takes a lot to make it worth ones while. The rate is a whopping $7.89/ 100 pounds. At this facility they grind it all up. A full sized car is shredded into golf ball sized chunks in about 15 seconds. Amazing thing to see take place.

It starts off looking something like this...

and ends up like this. This is a genuine form of recycling. All new steel has a certain proportion of old metal in it. I would like to believe that someday the axles will become new ones or maybe the frame of a new Airstream. The guy at the scale house said most of it goes to China or India though. Wishful thinking.


You do awesome work Frank!
ReplyDelete