
Ahh, what a treat! COLOR!!! Don't get used to it. I prefer to shoot in Black and White these days. The lovely glow of new lenses forced me to switch cameras for just a few shots…
Work continues at a steady pace. In working towards a weather tight shell, the running lights all went on. The original No. 9 tail light assemblies were rather rusted and could have been refurbished. I instead went the replacement route. Vintage Trailer Supply makes a perfect reproduction lens, gasket and beauty ring. These items are an exact match to the original. The recessed can bases, behind the lenses were also replaced. Unlike the original holes cut for the turn signals, I was much more careful in cutting my holes. This makes for a better seal against the skin of the trailer.

Unfortunately this trailer had it's original license plate holder removed at some time in the past. Two or three versions of had been installed. With the new skin, all that damage went away. I routed through the parts bins and what did I find but an original tail light base. Thanks to Vintage Trailer Supply I was able to buy the bracket and a reproduction lens for the center. The bracket is made of rather cheap chromed metal. I strongly encourage you to treat this item to prevent rust. I actually sand blasted the chrome off. I followed up with a self etching primer and an industrial grey top coat. If you do not treat this item it will be fully rusted in three years.

The belt line was worked on. It actually required a lot of work. 1950's and early 1960's cars had ginormous bumpers. It was very common to jack knife the trailer while backing up. More times than not this jack knifing resulted to dents to the belt line and the panels in the front corners. This Caravanner was a poster child for this effect. The photo does this dent/ scratch no justice. The center of this dent is a full 3/4" below the plane of the face. Unfortunately, a gash like that can only be made to look a little better than it currently does.

Dents like this can be easily pounded out using numerous dollies and hammers.
And now we come to a serious juncture; My closest friends tell me I give too much away(literally and figuratively). They tell me I show too many of my secrets and I should make people pay for that knowledge. I have struggled with this. I feel however, those that can't, won't. Those that can will. And those who know better will just screw it up and blame someone else. I am going to divulge some serious technique I have learned through trial and much error. It is free for the taking...

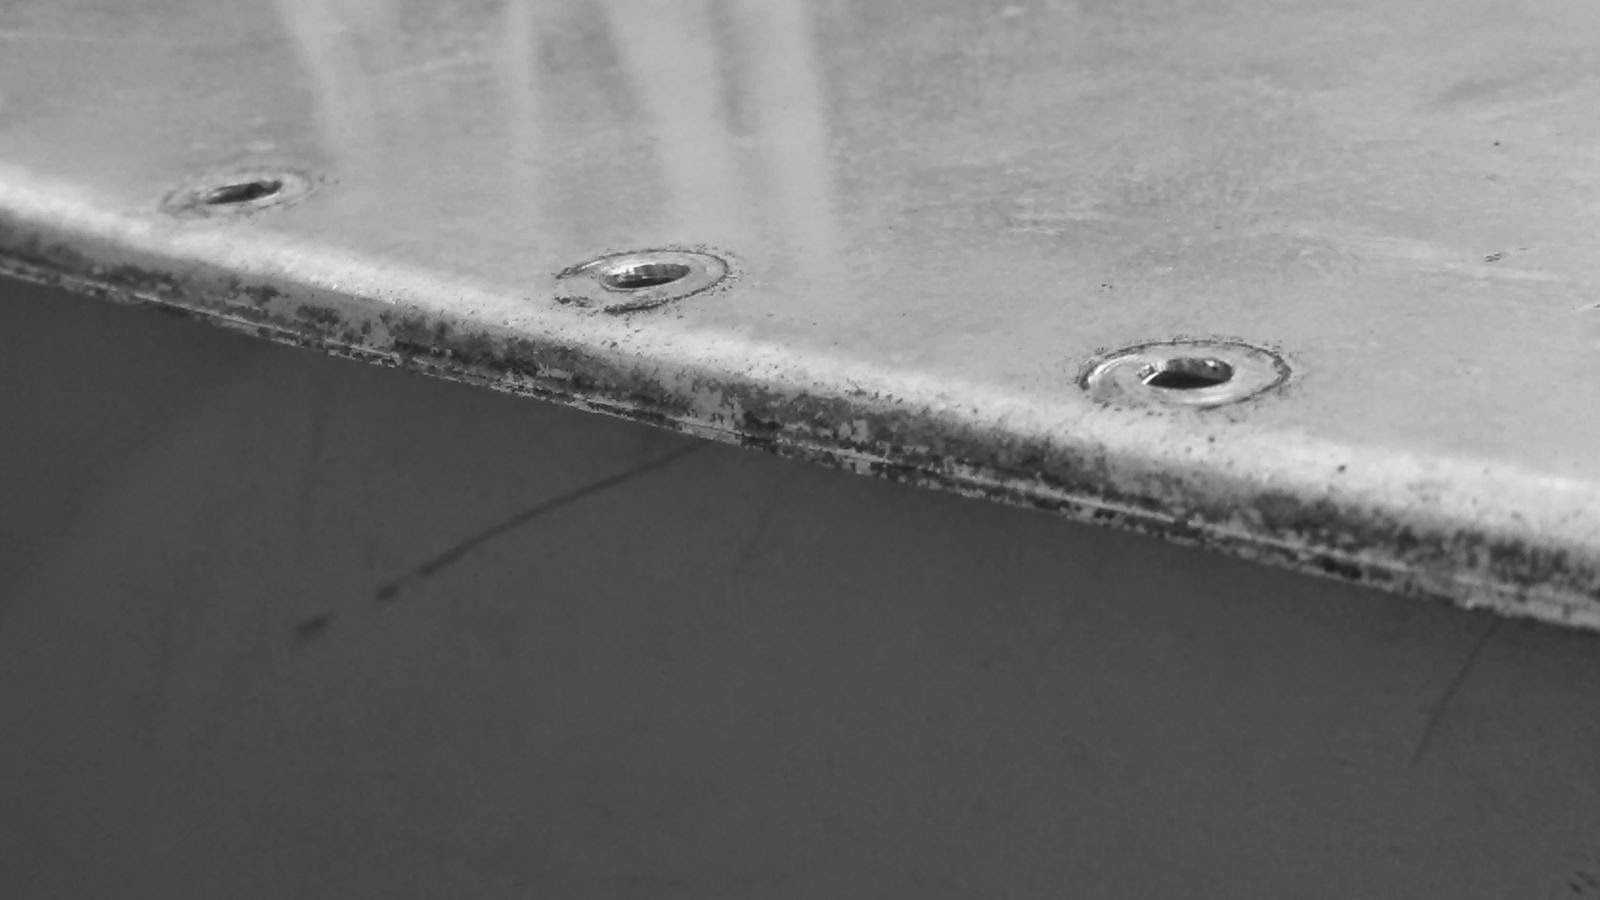
The belt. Start in the middle of the belt. Old holes are very helpful. I take great strides at keeping the belt line holes clearly marked so no rivets get put in those holes during securing the shell. Start in the center and work towards the ends. The straight runs almost always lay flat with the first try. The only thing that will hang you up is if you lost track of the original holes and a rivet is in the wrong spot. All the holes for the belt are in one plane and the rivets securing the shell(the ones you are covering up with the belt) are in a different plane. When you get to the curve, the belt will start to give you gaps against the skin. *Here is the freebie* If you push your palm against the belt and skin, right after the last clecko, then pull the belt away from the skin slightly, it will bend the belt correctly into place. There might be some slight gaps here and there. Don't freak out, work it in a little more.

Here is that big gash. I did my best on it but it will never be perfect. Somethings one just has to live with. You might also notice I do not screw the belt on as it was originally. I find that these screws wiggle loose over time. I also prefer that the rivet locks everything together. All the layers; belly pan, shell, c channel, and hold down plates are locked together this way.

You might be saying, "whoa!!! my belt does not look like that! I have small gaps. I guess I will shove a bunch of vulkem in there." To that I say 'WHOA!!! DON"T DO IT!!!'
Water is supposed to be able to flow down and out. When you start sealing here the water is going to collect inside the belt. All you need to do is tighten up the top edge. Here comes *another serious freebie*

Take a hard wood block and gently persuade the top edge against the skin. The gap suddenly goes away. I will caution you at this point to be careful. If you are not good at hitting the nail on the head you could swing your hammer right into the skin. If you are too full of rage you might swing too hard and over persuade the top edge. Gently work it in.
Your welcome.

You may have picked in previous posts that I am a big believer in replacing the eyebrow over the door. Doing that makes the eye appeal of the trailer instantly go up. Another excellent way to improve the look of a trailer is to make the wheel well edge new again. Until 1965 the wheel wells were edged in a simple bead molding. Blow outs, aggressive tire shops, and bad roads often tear up this edge. I almost always replace this edge with all new material

Now once that rim gets painted and a baby moon hub cap gets installed that area is going to pop.
In my next post I will probably tell you all about the struggles I have been going through to fabricate the one damaged segment in the end cap.
I showed you this image in a previous post about this project. I believe I waxed on about how simple it was going to be to make. Well, friends, it has been far from simple. Computers have been brought into the struggle. If they do not succeed, hammers will get it done. I am just going to leave it there.

Thanks Frank . Where do you get the edge material for the wheel wells ? As always you've inspired me to continue on.
ReplyDelete