Monday, July 27, 2015

The Last Chance Garage


I have always loved a field trip. I loved them as a kid. I think it got me out of the boring class room and into the world where I could learn by touching, smelling, and understanding the environment in which things exist. To this day I take advantage of any opportunity for a field trip. A few weekends ago, I had a great visit to Last Chance Garage. I suspect it will take a few post to cover my visit. Lets begin with the garage itself. The name really says it all. Most of the cars that come here are on their last legs. This really is their last chance. The other thing about the cars at Last Chance is the cars are incredibly rare. One I will cover in a future post is so rare that you most likely have never even heard of it. Every car is loved. 


Last Chance is owned by Buck Depkin. Buck is a wealth of knowledge. He is also incredibly talented at taking a complete hulk and restoring it back to original, new condition. I feel really grateful for the time he took to show me just about everything in his collections. Even though he has probably given the tour a thousand times, he talked to me as if I was the first person he ever showed it too. He seemed genuinely excited about it.


I got in to Last Chance because back in high school, this guy Pat was friends with my best friend Steve. We went to different high schools together. Pat, like his dad is a wealth of knowledge. He is really passionate about all these cars. The thing that alway impressed me about Pat is how incredibly smart he is. Pat is a very sharp tool. Pat is also one of the few people to have my complete respect. I feel honored to call him my friend.


Buck is a collector. He has a lot of signs. Mike and Frank from Pickers would be changing their undies if they walked in here. I seriously doubt they would break the ice. I doubt anything is for sale at Last Chance.


You can tell a lot about a man by his shop.


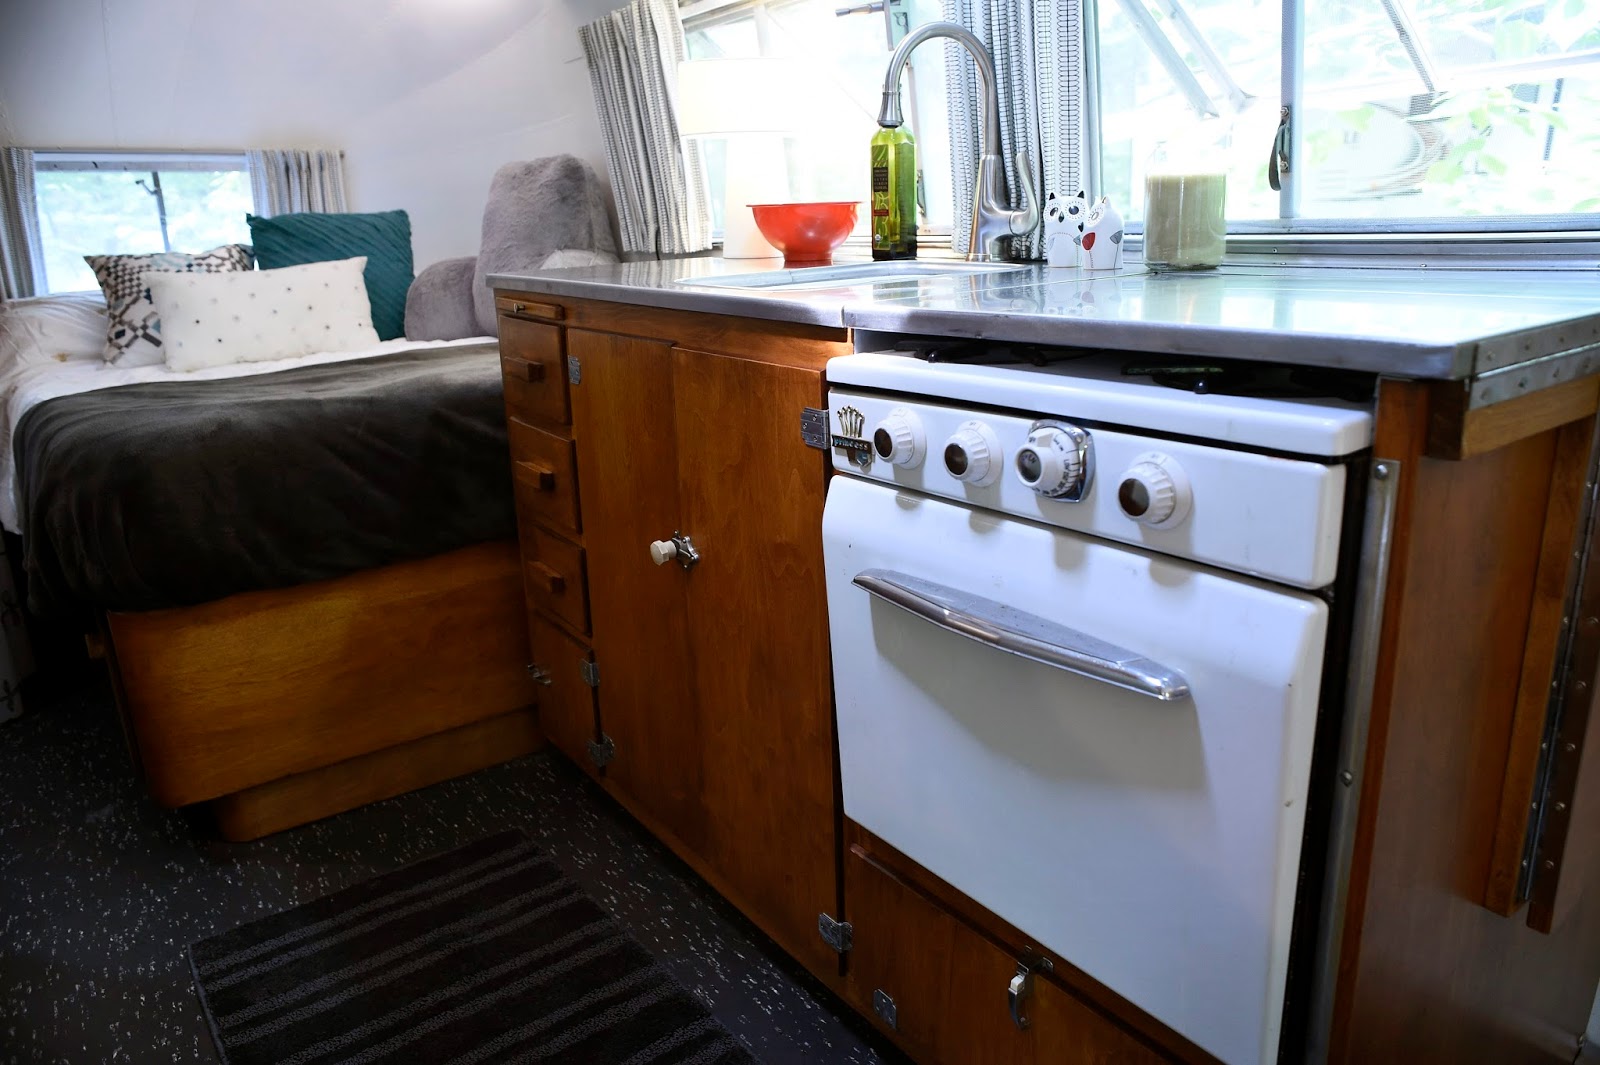
Unlike my chaotic shop, Buck's is clean and organized.


This is just a small slice of business cards. I spent a lot of time just looking at all of these. I might have created a diversion and snuck one of mine onto the wall.


Wouldn't it be great to still be paying those prices?


How many sets do you see there? I already said this might take a few posts.


I love this old school organization. Austin? That's a British car isn't it? I have to wonder...


This sign is hanging above the door where the cars are. In my next post I will show you what is behind the door. It really is a historical exhibit.


Sunday, July 26, 2015

The Eighteen Hour Axle Swap

The following post contains a lot of technical talk, abstract photos of axle parts, and parts jargon involving axles. It might be clear as mud to some. Please leave questions in the comments box and I will do my best to clarify...

I did an axle swap on a 1971 Overlander one time. It took 20 minutes per axle to do the job. Complete elapsed time with set up and clean up was one hour. I have now also spent 18 hours swapping a single axle. How is that possible Frank? How could it possibly take that long? Man vs. welded on, bolted on, first generation torsion axle is how....


This is what the first version of the Duratorque axle looks like. When Airstream installed this bad boy in early 1961 they honestly thought this axle would never need service or repair. They sold it as an axle for life in their advertising that year.  It was installed as if it was never to come out. With exception of bearings and possibly one brake pad replacement, nothing has ever happened to this axle. Every single bolt was fuzed on. Every nut but two, had to be cut.


Normally the plate you are seeing is welded to the side of the frame rail. It is a separate piece. The axle tube slides into a notch and everything is bolted to the plate. In this application it was all one piece. It all bolts through the frame rails of the trailer. To make sure it would not come out, it was welded to the frame rails also.


When I first looked at this job, I knew I would have to cut a few welds. I honestly did not think it was going to  be a big deal. There is always something hidden. Never forget that. You may note three bolt holes. I thought it was only two. I could only see two. Once the two bolts were removed and the welds were cut, it should just drop out. Right? NOPE. There was a third bolt. It was completely hidden from me. I know you see it, but if the hub was still mounted, and the shock mount bracket still in place, you would not be able to see it at all. The shock mount bracket covered the hole perfectly. It was the same width and was only 1/8" from the frame rail. But, Frank! The Nut!?! Surely you could see the nut on the back side. Well, actually barely. It was so close to the cross member it completely blended right in. To get to the head of this bolt(screw). The hub had to come off(struggle) followed by the backing plate(struggle). The shock mount could then be cut free(struggle and only a brand new cutting wheel could reach in. After 10 seconds it was too deep and a new wheel had to be installed in the cut off grinder. I now have 15 slightly used cut off wheels).  


Unlike the other two bolts, this was a counter sunk machine screw. Like all the rest of the nuts and bolts on this trailer, it was fused together with rust. To get it out, I had to weld the head in place to keep it from spinning. The head is about 1 inch across and no slotted screw driver was holding that tight. The nut was so buried, we could only get about 1/8 a turn per set. The weld then had to be ground out to get the bolt out. 


So where are there welds? You are looking at the axle tube comining in from the right and the main frame rail is going off to the left corner. They welded angle brackets into place. Two on each side. As if three massive 5/8 bolts was not enough, they needed to weld it in too. Cutting these angle brackets was no big deal. Avoiding cutting the frame rail was.

So, all that old crap is gone. How are you going to mount the new axle in?


I had these plates cut from 1/4" steel by a computer guided plasma cutter. I bet ya these are a direct bolt on. The upper three slotted holes are to give an additional place to weld onto the frame. The verticle slotted holes are for the Dexter bracket spacing. The notch is cut for #4000 axle tube. I have these plates available for $200 + shipping and double axle configurations are possible also. These plates can be used to convert from leaf spring axles to torsion is desired(not what I recommend but something a lot of Airstreamers want to do).


Here you see the new mounting plate bolted to the axle mounting bracket. One shock mount has been welded to the torsion arm. The original, vertical shock mount has also been welded on to the mounting plate.


The entire assembly was then raised into place and aligned very carefully. The plate was then welded into place. Alignment was once again checked, brakes wired in, and it is done. Going forward, an axle swap on this trailer will be as normal as any. Well, except the holes will all line up and the shock will fit without a struggle.

I hope this made sense to one of you. I know it is rather technical and not all that pretty to look at. It is however far more important than zolatone colors and floor choices. Please, if you have any questions or concerns leave me a comment. If you comment about your Ray Ban sunglasses, your God who hates everyone but you, and or your heating and air conditioning company I hope your computer becomes infected. Everyone else, thank you for reading.


Sunday, July 19, 2015

1957 Caravanner 11 of 11


The following photos were supplied by the owner. I hope you enjoy....


Friday, July 3, 2015

1957 Caravanner 10 of...

I need to offer my readers a big apology for the rather large gap in this blog. I suffered with computer failure, camera failure, and connectivity issues. To top it all off, I was also rather absorbed in completing this project. I hope the following post will make up for any disappointment. I should also tease you with the fact there is an upcoming movie of all of what you see below being installed back into this project. In the mean time, I have some photos of the finished project.


Please, come inside. Looking is free...


As you step in, you cannot miss the galley. Most everything was re used here. We did go with a new stainless steal countertop. I had Metal Benders do a non directional finish. 


Normally stainless has a grain to it. I have found that it scratches very easily and the grain highlights all the scratches. This non directional surface is soft and aged. Imperfections go away as use adds to the texture.


Originally the stove cover lifted to the rear and covered the window. I switched the hinging and added a flip out support to stretch the counter space.


You may recognize the fridge from when it was put in a few years back. I really love the front I made from old metal. Even though I executed this, it is not my own idea. My trailer hero, David Winick has done something similar many times. I could not help emulate it. For the record; David is in my opinion the best in this business. I aspire to do work at the level he does. 


Here is your view looking towards the rear.


In the rear curbside corner is the toilet.


It is a rather compact space but is a relief during those late nights...


I love this niche. It creates the feel of a proper dresser. In more deluxe models the top would open and contains a sink. I am leaning against a sink as I took this photo. As cool as the concept of a hidden sink is, who needs two sinks, 4 feet apart? 


Here you see the room divider deployed. It can easily be removed to keep that open feeling.


And right here is where I would spend a good deal of time reading a good book. 


A metal grill was added to the door screen. I might have mentioned, in this era, the door screen was riveted between the door panel. To replace the screen you had to take the door apart. With four West highland Terriers we thought it best to take preventative measures. 

I hope you enjoyed this little post. There will be some professionally shot photos coming soon on top of that short movie. I hope you will check back in again...